

Showing posts with label Birthday Cards. Show all posts
Showing posts with label Birthday Cards. Show all posts
Monday, November 22, 2010
Happy BRRRthday Card
This is the first time I have done heat embossing. I am so far behind the times, I know. I bought the embosser in January and thought I better use it. I used black, red and white for the colors because red was the only sparkly embossing powder I had. I love the idea for the BRRRthday saying for a November birthday. So cute. The white snowflake is a Martha Stewart punch.


Saturday, October 16, 2010
Masculine Birthday Card Ideas
I have two brothers who have birthdays in October. I find that guy cards are the hardest to make. Here are some masculine birthday cards from that past....
 For this one I picked out some scraps with masculine colors, and I embossed a birthday stamp that came with my cuttlebug to paste in the middle. I sanded the embossed stamp a bit to bring out the white. Pretty easy.
 For this card I made my own background, and found a clip art man on the internet.
 Here is this years attempt at making cards for my brothers. I printed out the same clip art and sayings, but I made two different cards.
 I only had one piece of silver the size that would fit this card perfectly. I put it through my cuttlebug using my diamond plate embossing folder. I colored the truck and added three screw brads. I wish I placed the brads a little lower. I glued a scrap of black across the middle and put the "you are not old" saying on pop dots and placed it on the black strip. Oh yeah, I inked a little silver along the edges of the white paper before I glued it down.
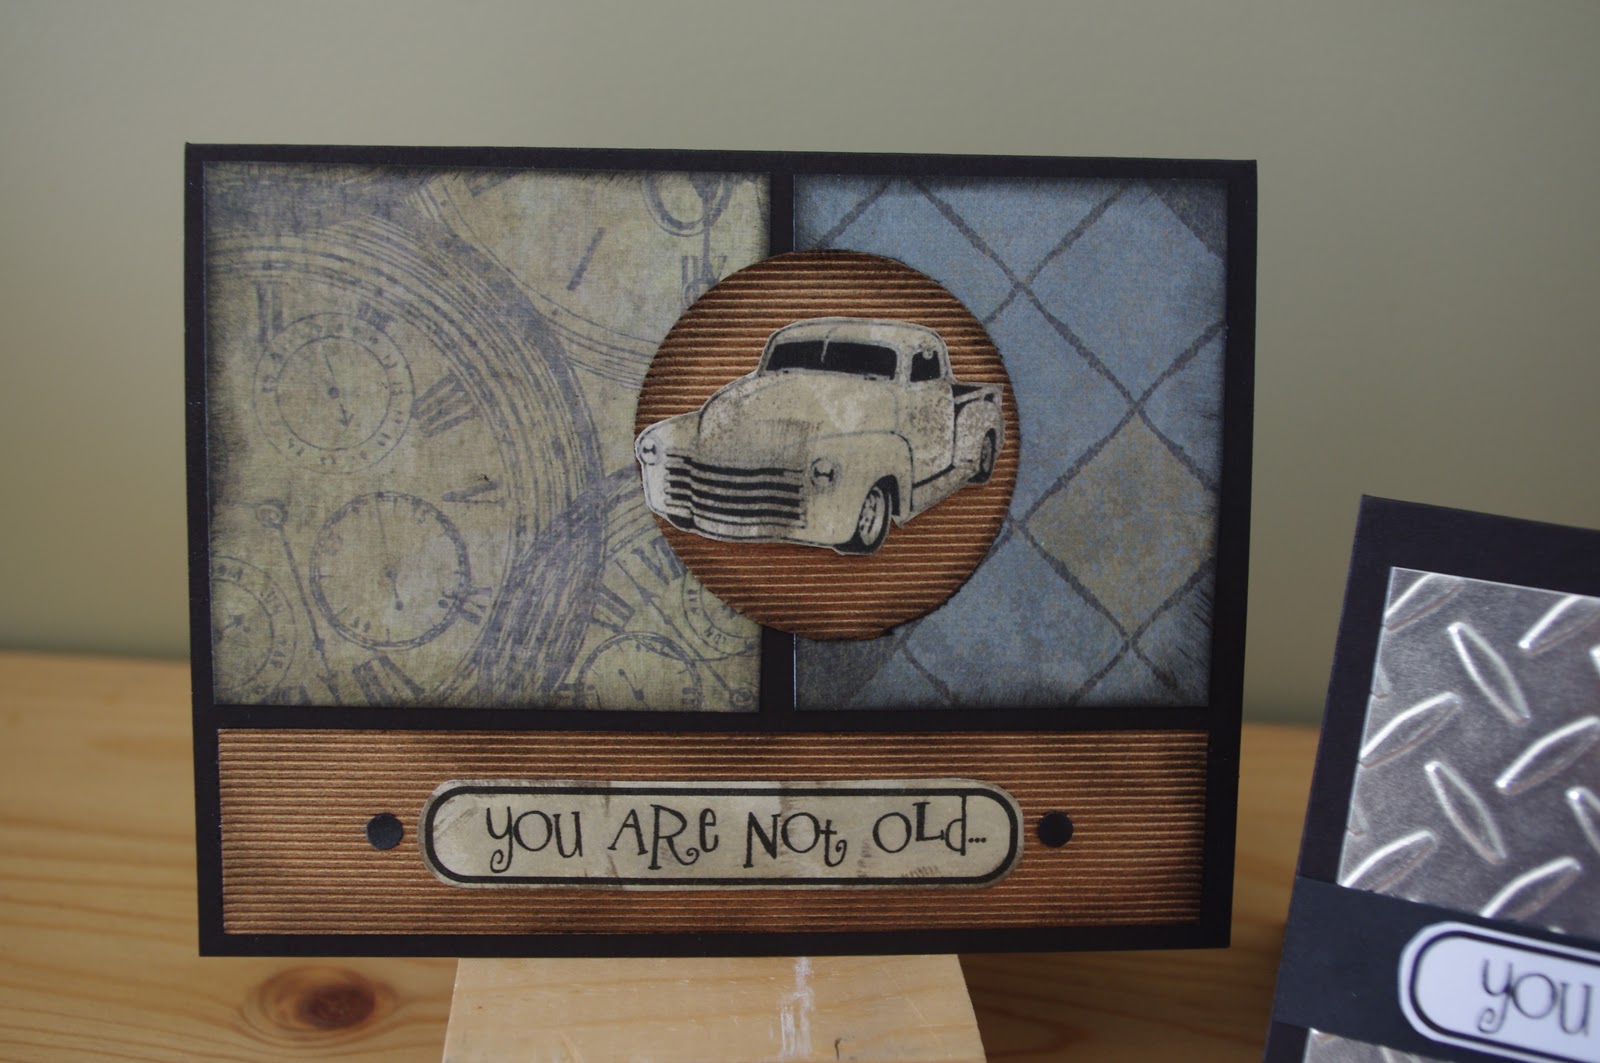
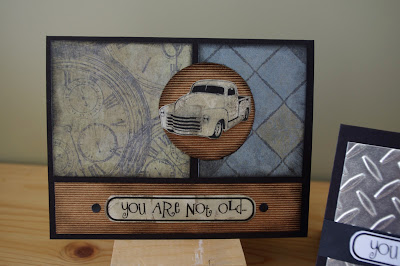 For this card, I needed it to be fit to go through the mail. I found some nice earth toned scraps of paper. I cut out the clip art truck and saying. I distressed inked the truck and saying with Tim Holtz ink - very lightly with the walnut color, and then soaked it with the tea dye color. I inked all the edges of the scraps with black ink. I cut out two black circles to make it look like brads and pasted them beside the saying.
 Here is the inside of the card. For next time, I would print out two trucks the same size. I would cut one out and pop dot it on top of the other to add dimension.
Oops! I hope my brothers don't look at my blog until next month, oh well. Happy birthday Stephen and Paul!
 I am not sure how to put pdf files on my blog right now, and I am not sure if this file would work as it is a jpg, but I thought I would put it on just in case it would work. Once I figure out how to put pdf files on my blog I will load up all the sayings and other stuff that I have made on my computer. Thanks for your patience!



Oops! I hope my brothers don't look at my blog until next month, oh well. Happy birthday Stephen and Paul!

Friday, August 13, 2010
Simple Birthday Card
I seen a card like this on a blog and loved the simpleness of it. I pierced holes along the top. Underneath the holes I scored a line using my new Martha Stewart Scoring Score board, and I also tried my hand at making the "make a wish" embellishment on my computer. I have never tied twine on a button like this before. All I did was put twine through the holes, tied a knot and a bow, and then adhered the button to the red bow backwards with a pop dot. It looks cute!


Subscribe to:
Posts (Atom)