Showing posts with label Christmas. Show all posts

Saturday, November 4, 2017

Starving Student Edible Advent Calendar


I made my first "starving student" advent calendar a couple years ago when my daughter was being trained to be a tattoo artist. Starving is an exaggeration - but when kids are going to school - mom's worry about what they are eating. I made an edible advent calendar as a creative way to help her out with her food bill. I bought things like cheese, Nutella, wraps, butter (on the more expensive side). The things that needed refrigerating I put in a different package and said they need to be put in a fridge. I also had easy to make items like pasta, pasta sauce - as I knew that was on my daughters menu and she was able to make it. 

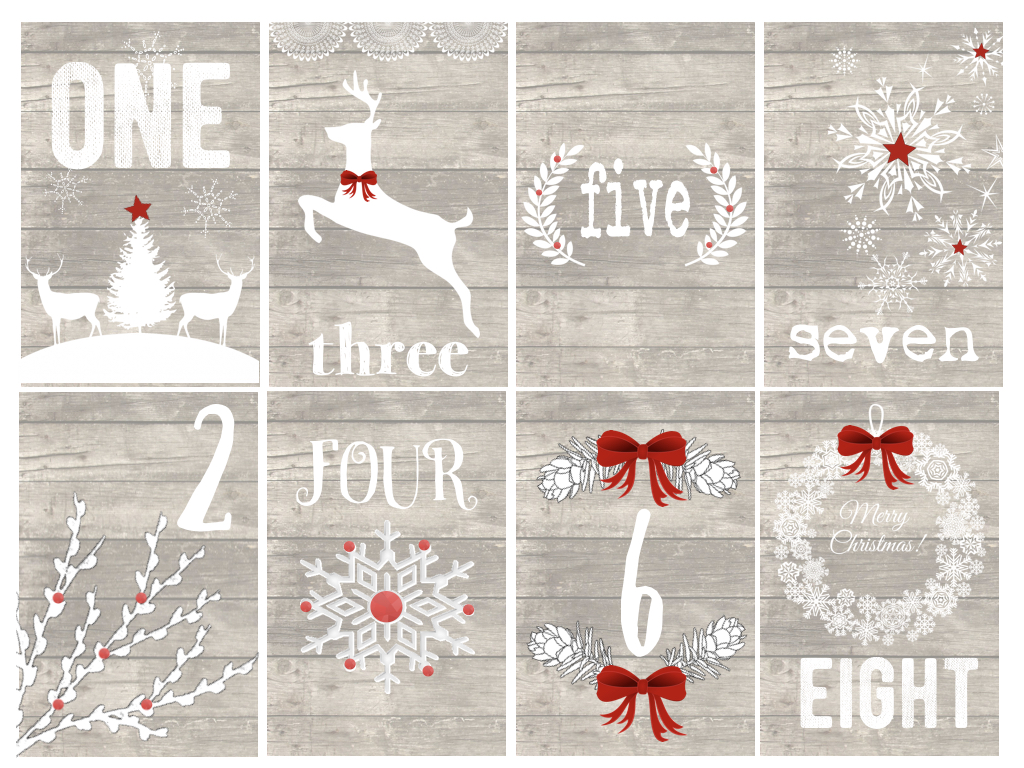
Now that she is done her training, I make her a "starving artist" advent calendar. These are the tags I made to go with the calendar last year. The first year I had some scrapbook paper with numbers on them.


What kind of things would you put in an edible advent calendar?
Thanks for stopping by!

Wednesday, September 28, 2016

Heat Transfer Christmas Wood Sign with Heat Transfer Tips


Hello! Welcome to my blog! I love trying new things, and this creative tryal is one that I am glad that I tried. I had wood burned transferred a smaller projects before (see my plant stick post here), but I loved this saying that I had seen around and thought this would be a good test for a bigger heat transfer project.

My husband made the wood background for me. They were 1x4's cut in 12 inch slats and glued and stapled together with a power staple gun using smaller wood slats to staple into at the back. I prepared the wood by aging it with a vinegar and steel wool mixture. Then I did a light white wash. I sanded the edges for a nice worn, manger/stable look.

I made the saying on my favourite publishing program. 


 I reversed the image so it would transfer the correct way on the wood. Next I had to get a laser copy of the words as an inkjet transfer would not work. I have read about how to do an inkjet transfer, but I am too lazy to do the work to make it a success.


 The next step was to heat transfer. I used a wood burning kit I purchased from Michael's with the transfer point.

Here are some things I learned while making this project about 20 times:

-  add some pressure . I tried transferring sitting down and it might sound crazy, but it didn't transfer as well. When I stood up it worked better.
patience. It will take about 15- 20 minutes for a nice transfer and this is a small sign.  I counted to three slowly in each spot I was transferring - checked how it adhered to the wood and did it again if it was not dark enough.
do a test burn- I heated my tool for 10 minutes then I put it on my project and my paper nearly lit on fire and it burned a nice circle on my project. Have a scrap piece of wood and paper close by to test the burn. It releases some of the heat and then you can carry on.
outline the words on the back of the paper with pencil - on bigger projects like this, put your paper on a window or a light box and outline the lettering so you can see where you need to heat transfer.
repeat transfer if necessary - this is related to the patience tip:  if the lettering is not dark, apply heat to the lettering again. I taped my sheet to the wood in a manner that it was secure, but also so I could flip the paper up to see how well the letters were transferring. If it was not dark enough I would reapply heat. On one of my first signs I had it on display for a couple days and realized some of the letters were not dark enough. I took the original paper and lined up the letters and heat transferred again. There is a lot of ink on the laser photocopy.
avoid knotted wood where words need to be - I love knots. It adds to the rugged look of a wood piece; however, if you have a knot where a word needs to be transferred on it will not work. The knot is dark brown and the lettering is black.

This was a wonderful and fulfilling project! Just think of the possibilities of what can be heat transferred on to wood....Why don't you give it a try?

Sunday, December 7, 2014

Nylon Doll Nativity


About ten years ago I made a nylon doll nativity that I re-crafted today. I made these dolls with the idea of putting them on a wreath. I thought these were so cute, that I suggested to my daughter that she make these wreaths for Christmas presents for her grandmothers and great grandmother.


The wreath pictured above is the one I made. The dolls pictured below are the ones my daughter made when she was in grade six. They are so adorable. She did make wreaths for the grandparents, however we received my grandmothers back when she passed away. I did not need two of these wreaths.
So I pulled the dolls off and glued them to a wood slice that I had hanging around. 


Now these adorable dolls my daughter made are the centerpiece in my living room. They bring back memories of my granny, the treasured time my daughter and I had when these were created, and the reminder that Christmas should be centered around Christ, and His message of love for all. 
Thanks for stopping by!

Sunday, November 24, 2013

Woman of God Survival Kit

 Hello! Welcome to my blog! I made this gift last year and didn't have to time to post it on my blog in time for Christmas. I have given this gift to people that I work closely with at church over the years. Although I hope they find value in the gift, I know that I always benefit from it as I ponder the analogies and lessons with each item. Here is what I put in the gift....

 1. Love the Lord with all your heart - HEART ORNAMENT

2. Reflect on your divine nature - MIRROR.


3. Draw close to your Heavenly Father and Jesus Christ - PEN AND PAPER

4. Don't waster energy - FLORESCENT BULB

5. Feast on the delicious fruit - MINI FRUIT PIE

HERE ARE THE TAGS.....


HERE ARE THE SAYINGS I PUT ON THE BACK SIDE OF EACH TAG
*Quotes from The Church of Jesus Christ of Latter-day Saints leaders*


Wrap it up pretty and there you go!!


Thanks for stopping by!

Saturday, November 23, 2013

DIY Photo Christmas Card


Hi! Welcome to my blog! I haven't been on my blog for months, and now two posts in two days. Christmas must be just around the corner!! I wanted to share the card I made for this year. The details of the fonts and dings I used are in the picture below.


And here is the background.... Put a nice deep red border around it to make it pop!


Thanks for stopping by!


Friday, November 22, 2013

Christmas Tree Advent Calendar


I have been on a little bit of a hiatus from my blog due to going back to school and such but it is great to be back crafting and blogging. Christmas is right around the corner and I needed to make my daughter a new advent calendar. She has moved out and so I thought she might need a little Christmas cheer in her new place. Here is how I made it....

1. I wrapped a styrofoam cone with greenery garland, then glued the tree into a medium tuna can that I covered with Christmas scrapbook paper. 
2. The ornaments on the tree are mini envelopes that I sliced the tops off of. I stuck a wire into the tree that I made a loop in the end to attach a mini clothespin to hang. The wire was about 3 inches, folded in half and then twisted together at the end leaving a loop at the fold.
 3. I wrapped match boxes and added ribbon with a mini tag to hold the number.

4. I made mini versions of the box bag that I love to make CLICK HERE FOR TUTORIAL. The cardboard for the bottom measures 2"x2". The paper measured 4 1/2 inches length and 3 inches height. I cut off the top of the bag with decorative scissors.

5. I bought a decorative plate from Michael's for 69 cents ( Halloween/Thanksgiving clearance ). They have them coming up for sale this week for a great deal as well - not 69 cents but as good as you will get before Christmas.

I wanted to make this advent calendar refillable, hence the bags, boxes and envelopes. I have a mini set of lights that I might add to it as well. 

Check out my other advent calendars ...

Silhouette and cork advent boxes.

Advent box tutorial


Christmas Countdown Blocks

Thanks for stopping by!

Monday, December 24, 2012

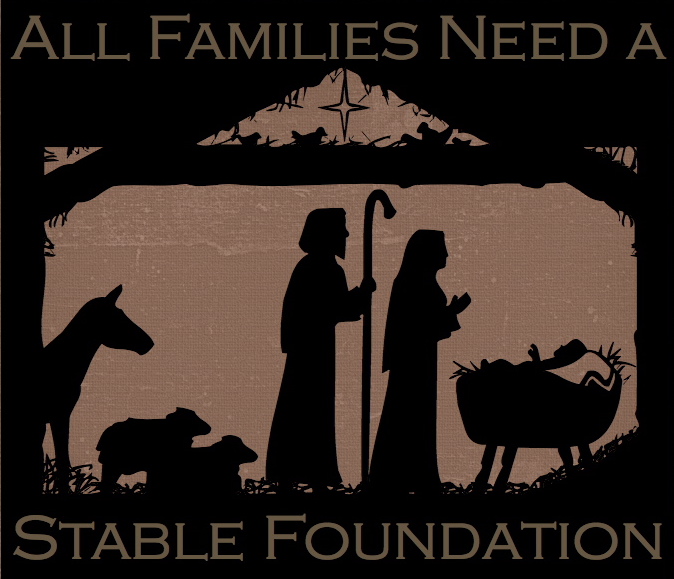
All Families Need a Stable Foundation


A while ago I promised a "Stable Foundation" picture that my daughter was creating. It was delivered today, Christmas Eve. 

I am grateful for the stable foundation of the teachings of the Savior in my life. I feel honored and blessed as I get to know Him and His purposes more clearly. He inspires me to live a quality life and He desires me to reach out and love others. When I truly embrace His teachings, that is when I have joy, as His teachings are always about caring for others, seeking peace, and bringing about goodness. What a wonderful gift to all. 

Merry Christmas everyone!

Saturday, December 22, 2012

Gift Wrap Survival Kit For Your Man


Last year I made a gift wrap survival kit for a present. One of my followers suggested that this would make a perfect idea for the man in your life or your kid's. I thought that was a wonderful idea and I needed to make one for my husband. I have a confession to make. I LOVE beautifully gift wrapped presents - which I strive to give - and to be honest I feel a little bummed out when my presents are thrown into a dollar store bag. So yes, I will admit this is a bit of a self indulgent gift from me to my husband in the hopes that the gifts under the tree have eye candy appeal.


I bought wrapping paper and ribbon that I liked. I printed out some tags, and used a couple stamped images to make tags that matched the wrapping paper. After I cut out the tags I glittered the edges with Mod Podge and champagne glitter. The really cool tag above in the center is a free digi stamp download that I found via Pinterest. Here is a link to get the free stamp - CLICK HERE. The tags on the bottom are free printable from
  The Winter Wonderland Holiday Tags by Three Little Monkeys Studio.
The other tags are from stamps.


I gathered all the little bits and put it in a clear plastic bag with a zipper (left over from a sheet set). Then I stapled on a print out from the survival kit I made last year (CLICK HERE to go to the link). I gave my hubby the bag, boxes and gift wrap and he was thrilled. When I came home from work that day he had all his gifts wrapped and he said he actually enjoyed wrapping the presents this year. And I must say - they look fabulous!!


Thanks for stopping by!!

Thursday, December 6, 2012

Christmas 2012 Card - Make Your Own, It's Easy!!


Here is this year's Christmas card that I made. I don't have any fancy program - I use my slideshow program called Keynote. CLICK HERE for the tutorial...

Now, for the particulars. Start with a full page color black. Add desired background, resizing it to show some of the black for a frame. I included the background I used below.


I used the fonts Rage and Circus for "Christmas"making them different sizes. I added a white shadow to each letter (go into "Inspector" click on shapes, click on shadow, change color as desired)
The other font I used is Harrington. The snowflakes are from the font "Flakey" and I used the opaque option in the inspector to fade them a little. I put black boxes around the pictures and the mid section.

Here are cards I made for the last two years...


Thanks for stopping by!!


Saturday, December 1, 2012

Advent Calendar Boxes


Can you believe it is December 1st already? Time to get out the advent calendars. I discovered  these awesome advent boxes a few years ago. I thought I would try a little different version of them this year.
The one pictured above I covered in cork. I used thick cork for the top and bottom (I found this at a dollar store) and thin cork to cover the match boxes. I glued some silver decorations that I got from a dollar store on, and used screw brads and black brads for the drawer pulls. I glued wooden beads to the bottom. This is a more masculine box that I am giving to my nephew.


I made this silhouette advent box for my niece. This is my favorite advent box yet. I cut the silhouettes from the "Child's Year" Cricut cartridge. I mod podged champagne glitter on black brads leaving the black to frame the brad. I painted the wood beads that I glued on the bottom - black. Before I glued the top on the box I glued a long piece of ribbon in between the layers, and then tied a bow on the top.
CLICK HERE for the tutorial I made a couple years ago. Some things I did different this time: 1)Instead of hot glue, I used mod podge to glue all the papers on. Next time I will try using mod podge to adhere the match boxes together. 2) I painted the cube with a background color to cover the matchbook colors. 


Thanks for stopping by!

Wednesday, November 28, 2012

Stable Foundation Free Download


In my previous blog post, I showed a picture of a Christmas craft I made at a Super Saturday at my church. I had a lot of requests for the file. Unfortunately it is not my file to give. Although this is not as nice as my friend had made, I am posting this image as an option for a free download. I have also asked my daughter to draw one for me (she is an awesome artist) so I can make some more gifts. When she finishes this project, I will post that one. I promise it will be awesome!!
Right click on image, open image in new window. Copy and paste to desired publishing program. Resize as desired, print. 

Thanks for stopping by!

Linking up to...

Tuesday, November 6, 2012

All Families Need a Stable Foundation


Hello! With the first week of November slipping away quickly I thought I would do my first Christmas post. I was helping to organize a Christmas craft day for the women's group at my church and this was one of my favorite projects. My friend made this image with her Creative Memories program, printed them off at Staples, and the only thing that needed to be done was paint  pre-cut plywood, and Mod Podge the picture on. The picture is 8x8. I loved this saying and my friend did a wonderful job at putting this project together. 

Thanks for stopping by!

Linking up to....


Tuesday, December 20, 2011

Wrapping Survival Kit

Do you know anyone that has wrapping issues? I am big on survival kits - and this kit is probably one of the handiest ones I have made. I only made one this year - but I am thinking of doing more for next year. I know that I could have used this gift wrapping survival kit on many occasions. Here is what I put into it....
1. Boxes - I bought these boxes at Stitches. They were the nicest boxes I have seen - I bought them for 50 cents too!
2. Gift Bags - I made an assortment of bags - but $ stores have a good assortment if you need to make this in a hurry.
3. Ribbon - I bought ribbon at a fabric store and put them on a fancy cards. I also included some jute to tie tags on. I attached all of these on a metal ring. 
4. Tags - I made tags, and printed out some tags for an assortment. I put them in a little glassine bag to have them all together.
5. Tape, scissors - and not pictured here - PEN. I put all of these in a plastic case so they are together and easy to find. 
6. Tissue - I bought a big multi colored pack.
7. Gift Wrap - I bought 2 colored rolls and a roll of kraft paper. 
8. Door Hanger - handy to let others know you would like some privacy.


Here are some close ups of my hand made items.


This is the card I wrapped the ribbon around. After cutting out the shape with my lacy labels cricut cartridge, I inked the edges. You can download the image below for personal use.
Right click on the image - click on copy image - paste into your favorite program - resize as desired -  and print. 

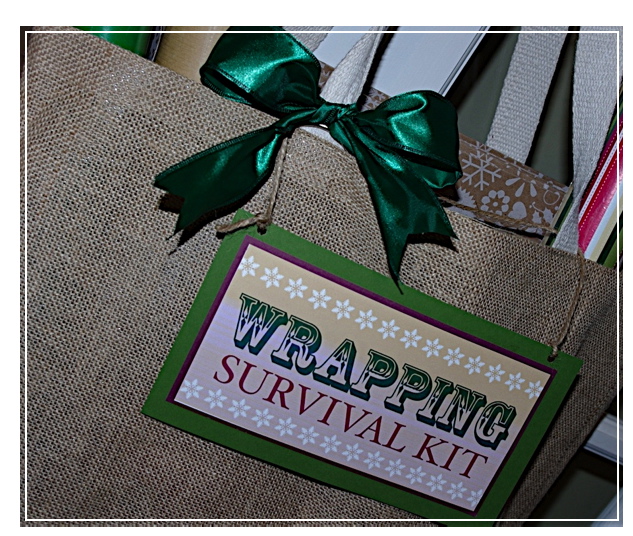
I put everything into a large burlap bag that I purchased at a $ store. To finish it off I added a survival kit sign and a bow. 


Here is the survival kit sign image. You can download the image for personal use.
Right click on the image - click on copy image - paste into your favorite program - resize as desired -  and print. 


I am thinking it would be a good idea to give my husband one of these - he always seems to have  wrapping issues. 
Thanks for stopping by and happy wrapping!!!

Linking up to....

Tip Junkie

Monday, December 19, 2011

The Best Gift Around a Christmas Tree.... Quick Gift Idea


I have always loved this quote, and then I saw this idea HERE on a blog called Your Creative Juices for a simple yet sweet gift idea using this quote.


I made the quote labels. I used a frame from Graphics Fairy, and a clip art from The Vintage Workshop. I did two gifts - one with a roll of wrapping paper and one with ribbon. I tied a bow in the wrapping paper and attached the quote tag. For the ribbon gift I made a cardboard ribbon holder and wound 3 yards of ribbon around it. 
The card was cut from the Lacy Labels Cricut cartridge, size 2 1/2. For the background of the card I printed sheet music from Graphics Fairy.


I gave these gifts out yesterday and they went over well. I am thinking they will be something that will be helpful for preparing for Christmas - with a quote that invites the Christmas spirit. 

Thanks for stopping by!
Linking up to...

Graphics Fairy